In this article, I will tell you Windows 11 official upgrade process from Windows 10. Exactly what you need to do to install Windows 11 on your PC, check your hardware compatibility, and what precautions you need to take before proceeding with the installation save yourself the hassle. So, without further ado let’s jump into how to upgrade Windows 10 to Windows 11.
How to Upgrade Windows 10 to Windows 11
Step #1: Register for Windows Insider Program
The first step you need to take to install Windows 11 is to register for the Windows insider program. To register for the Windows insider program follow the following steps:
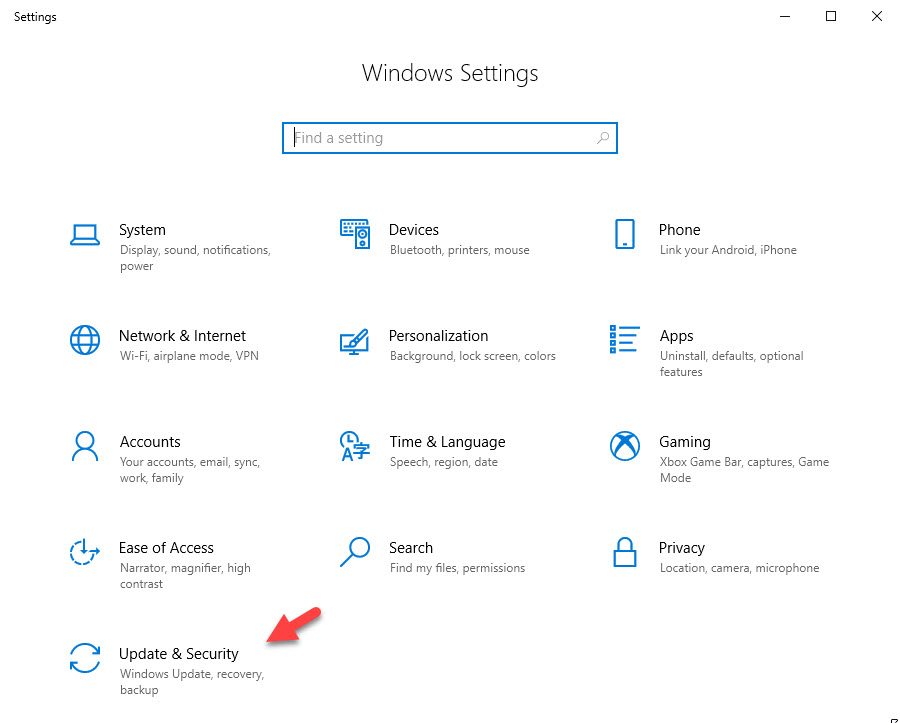
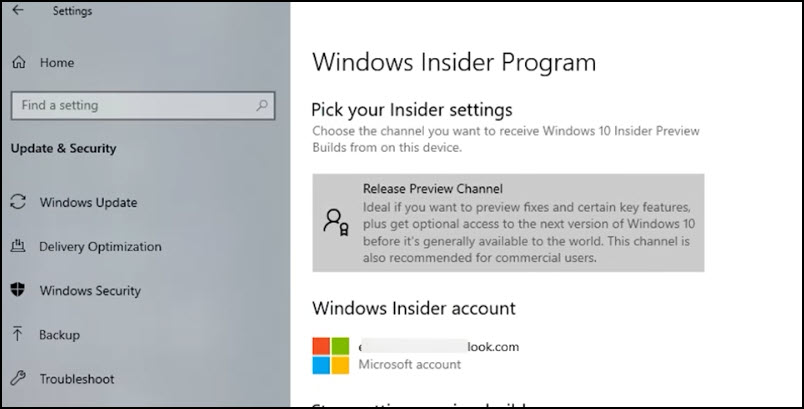
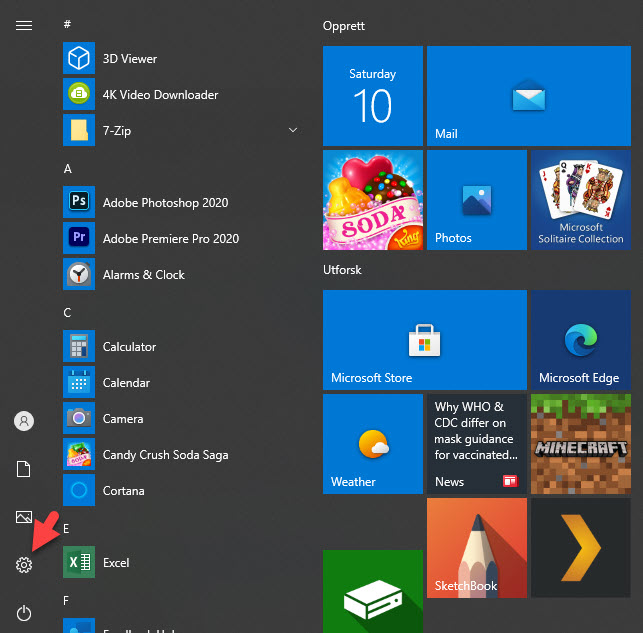
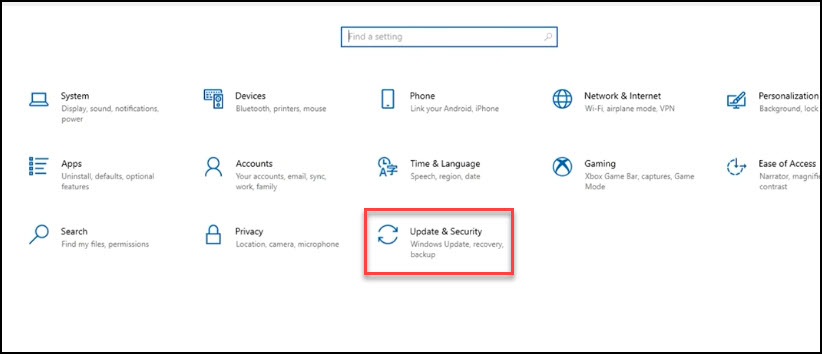
- Open your Windows 10 Settings Page
- Click on Update & Security
- Click on Windows Insider Prgram

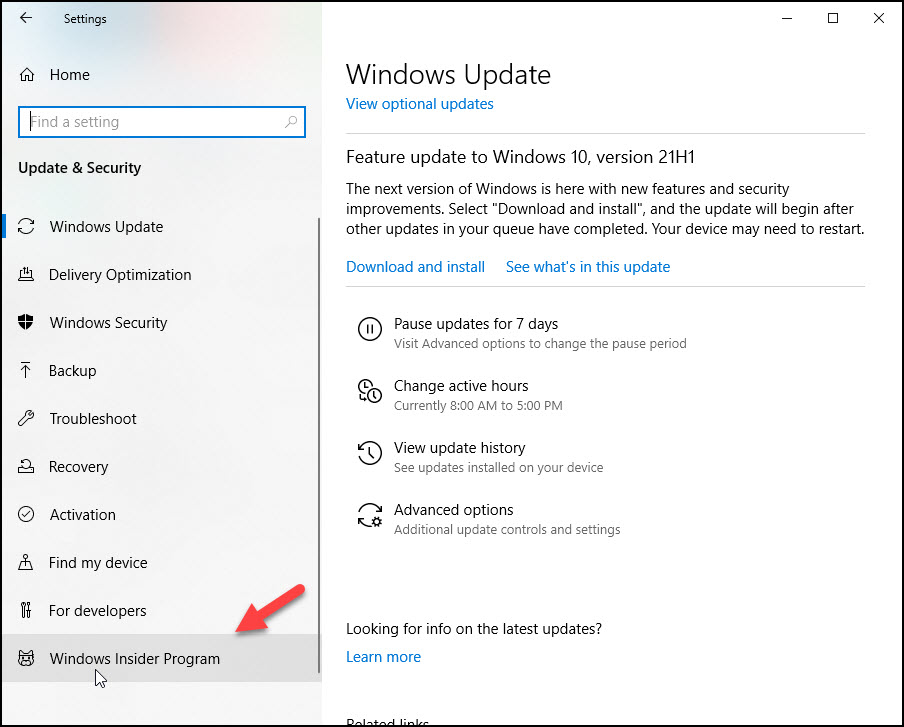
If you already know how to register, you can go ahead and skip this chapter and move to the next step, but if it’s your first time, you can do it as follow:
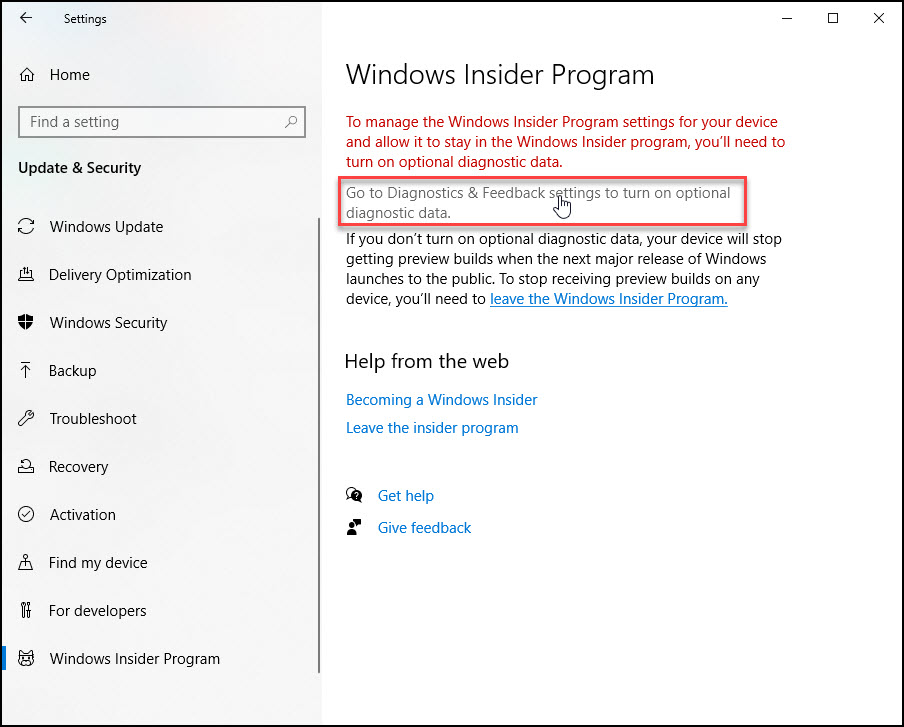
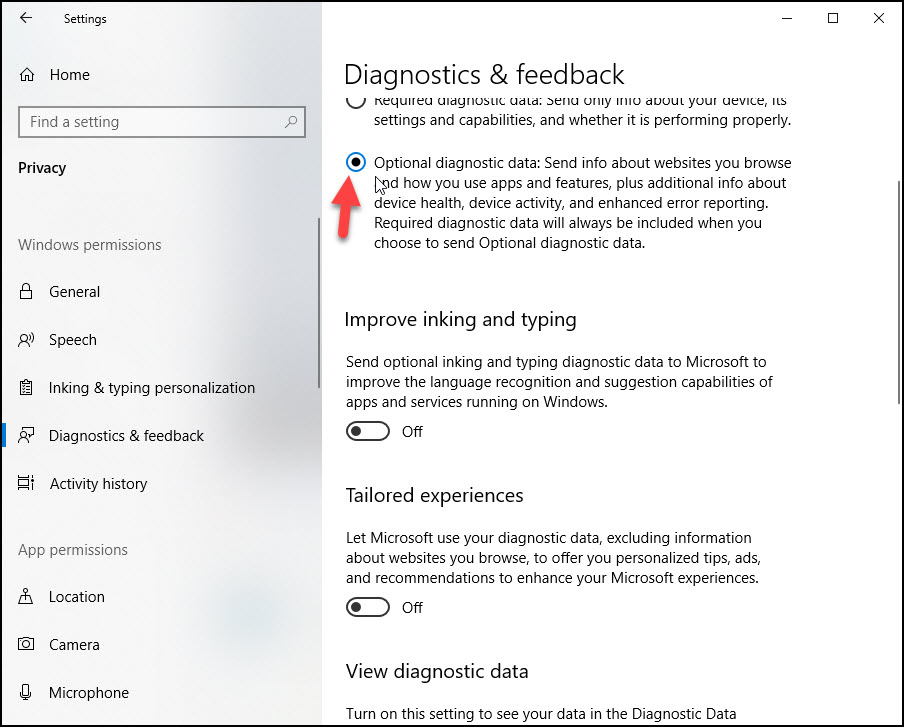
- If you get the following message “Go to Diagnostics & Feedback setting to turn on optional diagnostic data” Click on the link and turn on Optional diagnostic data:
- Moreover, if your Microsoft account is not linked, it will ask you to link your Microsoft account. Click on the Plus Icon and sign in with your Microsoft Account.
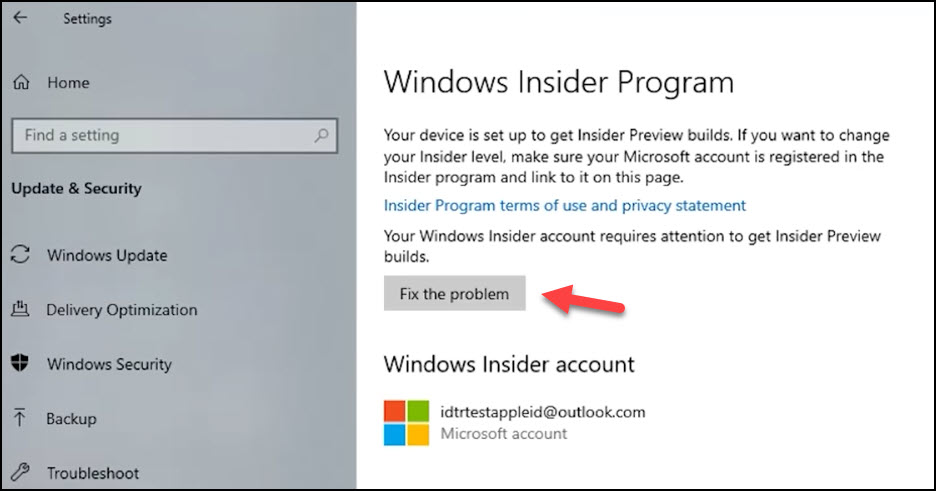
- If you have neverd used your Microsoft account with Windows Insider Program it will ask you to Fix the Problem. Click on Fix the Problem
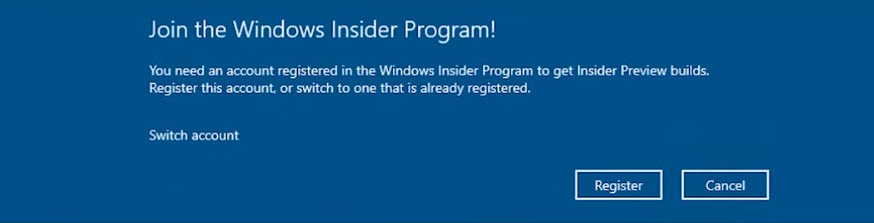
- Click on Regisrter
- Sign up
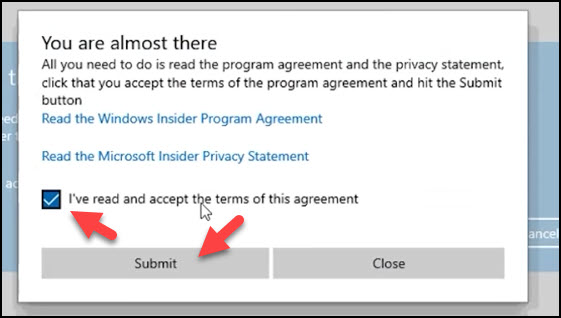
- Agree to the Terms and click Submit
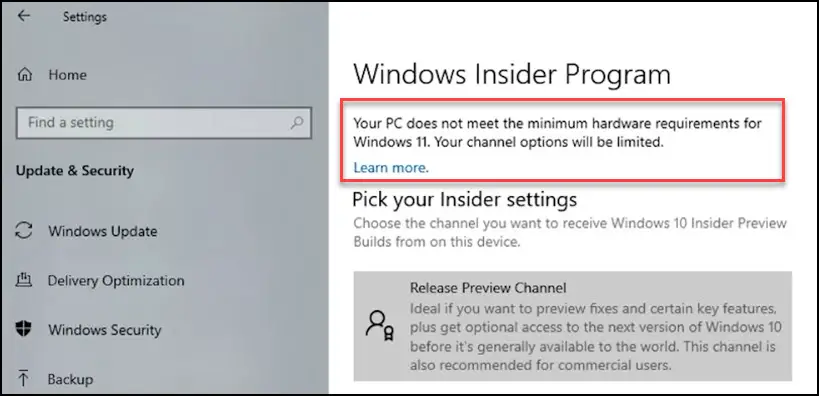
Fix Your PC Does Not Meet the Minimum Hardware
Sometimes it will say that your PC does not meet the minimum hardware requirements for Windows 11 despite your PC hardware is compatible with Windows 11.
You can check your PC hardware compatibility in the following list.
System Requirments
The following hardware requirement is on the official web page of Microsoft for the basic requirements for installing Windows 11 on a PC. If your device meets these requirements, you may be able to install Windows 11.
| Processor: | 1 gigahertz (GHz) or faster with 2 or more cores on a compatible 64-bit processor or System on a Chip (SoC) |
| RAM: | 4 gigabyte (GB) |
| Storage: | 64 GB or larger storage device note: See below under “More information on storage space to keep Windows 11 up-to-date” for more details. |
| System firmware: | UEFI, Secure Boot capable |
| TPM: | Trusted Platform Module (TPM) version 2.0 |
| Graphics card: | Compatible with DirectX 12 or later with WDDM 2.0 driver |
| Display: | High definition (720p) display that is greater than 9” diagonally, 8 bits per color channel |
If the system still says your PC does not meet the minimum hardware requirements for Windows 11 despite having the above-mentioned hardware, the most common reason behind this is the TPM 2.0 or trusted platform module which you need to enable. So what is the TPM?
What is the TPM?
The TPM is simply a hardware chip or firmware technology to secure your machine from malicious software. A lot of Intel and the AMD processors already have TPM 2.0 from 2016 and 2018 onwards pretty much all CPUs support the technology. But it’s not activated by default in the motherboard settings.
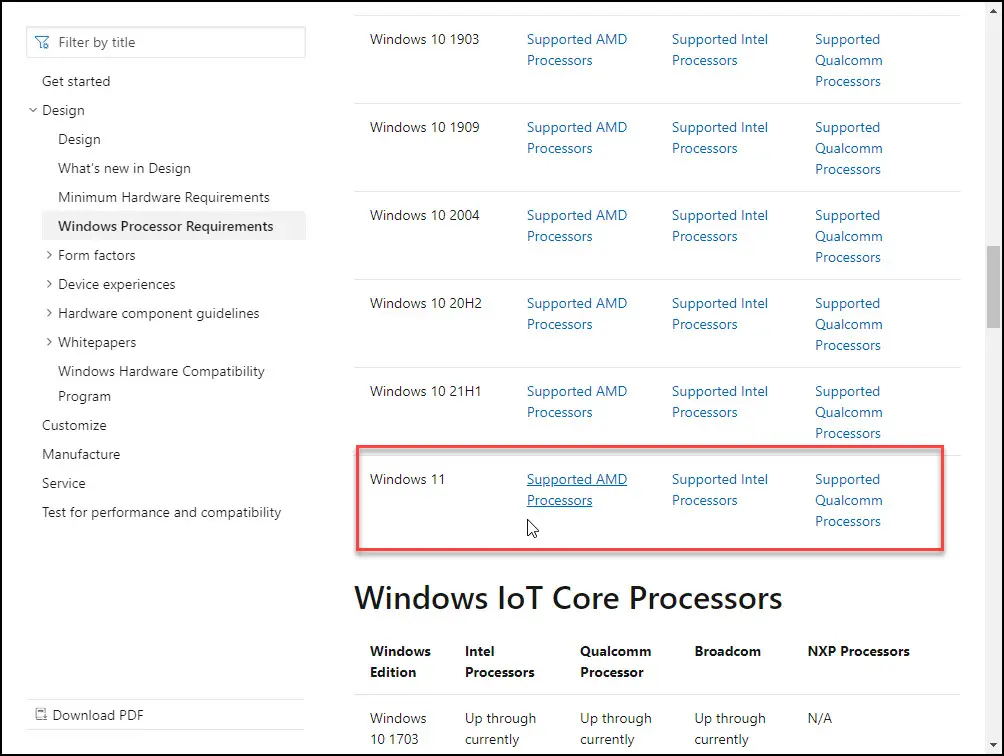
You can check if your processor is supported by visiting Microsoft’s official page that lists Windows 11 supported CPUs from Intel, AMD, and Qualcomm. Go to Microsoft Offical Page, scroll down until you find Windows 11, click on the processor that your system consists of. Your processor can be AMP Processor, Intel Processor, or Qualcomm Processor. Click on the manufacturer link then look for your processor model.
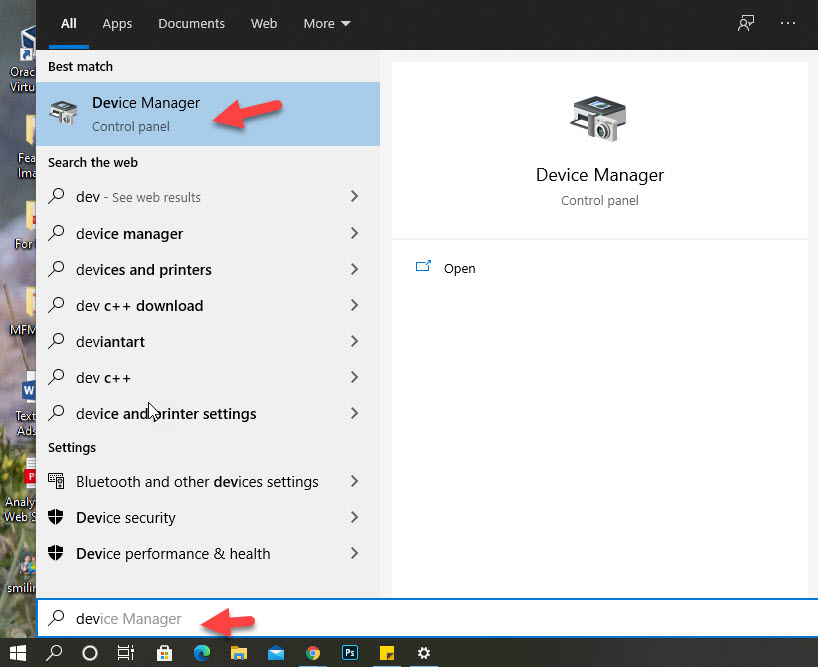
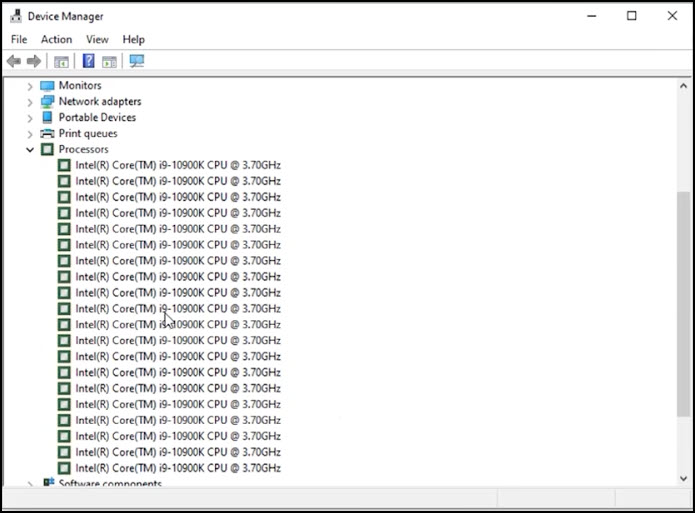
If you don’t know what your system processor model is, click on Start Menu > Search for the Device Manager > locate and expand the processor list then you find it.
If your processor model is on the list of Microsoft pages, it means your processor can support TPM 2.0 and can work with Windows 11. The list doesn’t include all the CPUs that support the technology and there are older models that do support TPM 2.0 but they are not listed in the Micsrofot Offical Page. That’s because for the time being Windows 11 will only work with Intel core 8th Generation processor and later in addition to Pentium and Cellular and CPUs.
For AMD it supports Ryzen in 2000 models or newer so even if your processor supports TPM 2.0 it doesn’t mean it will work if it’s older than the previously mentioned CPU models.
Step #2: Enable TPM 2.0 in Your Motherboard BIOS And Check for Windows Updates
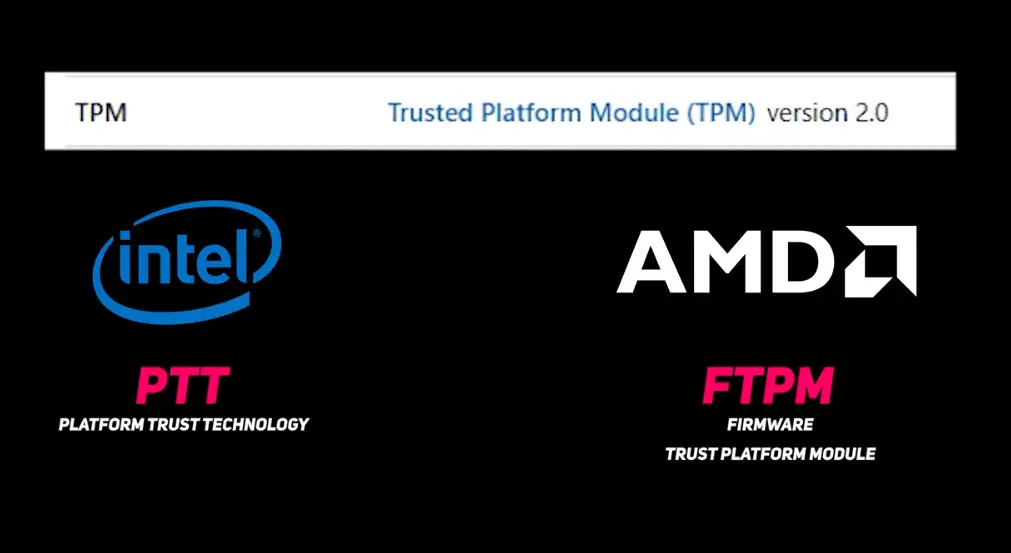
So your processor is listed, how would you enable TPM 2.0. If you are using Intel, the feature will be called PTT (Platform Trusted Technology) and for AMD it’s called FTPM (Firmware TPM). Either way, you will need to access the motherboard BIOS and look for the option. Indeed, the steps differ from one motherboard to the other.
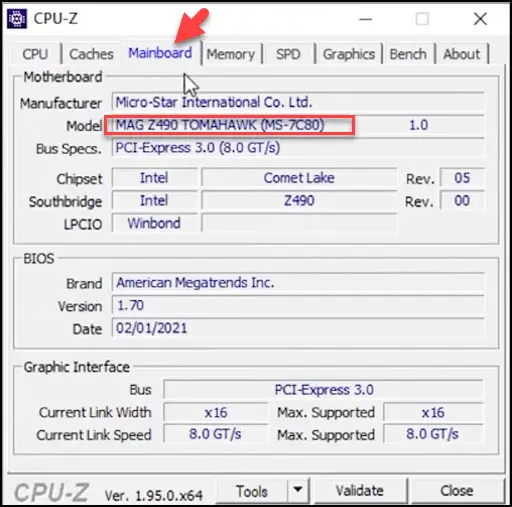
First, you need to identify your motherboard make a model either by checking the box or download an app called CPU-Z. When you open the CPU-Z and then go to the Motherboard tab, you will be able to find the make a model of your motherboard.
When you find it simply search on Google for example “Enable TPM in BIOS MSI z490 motherboard.” You will easily find how to enable it. For instance, if you are using an MSI motherboard you can enable TPM 2.0 as follow:
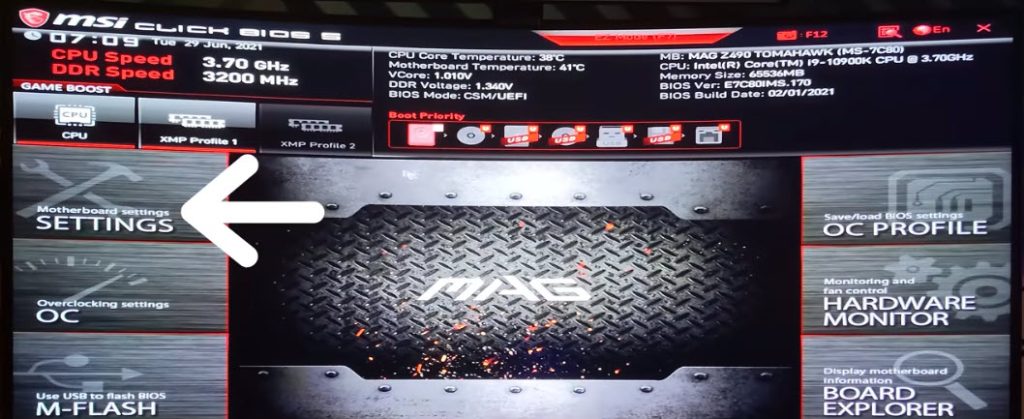
- Restart your system and press the “DEL” key while the system is booting up to enter the BIOS Settings on the MSI Motherboard. In some cases, you need to use the F2 key instead of the DEL key to enter the BIOS setup. go to your motherbaord BIOS
- Go to the Advacned mode by clicking f7
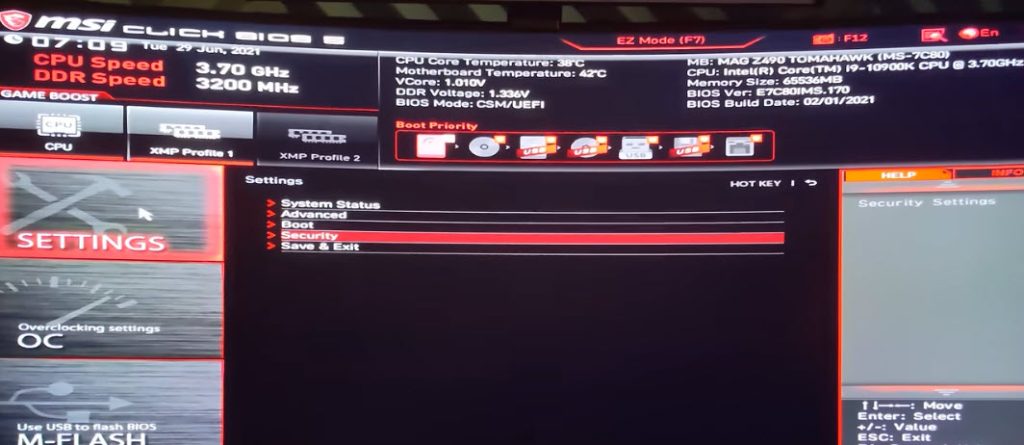
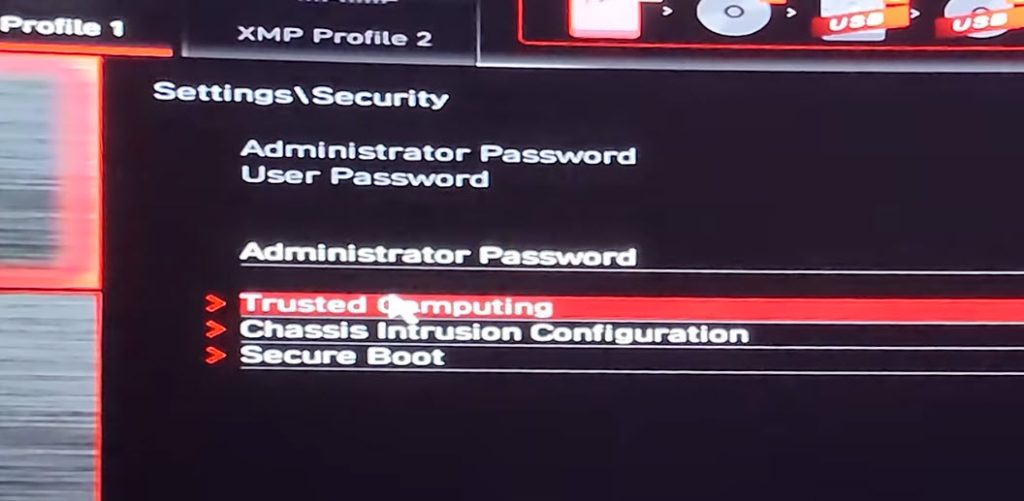
- Click on Settings in the left
- Click on Security form the sub menu
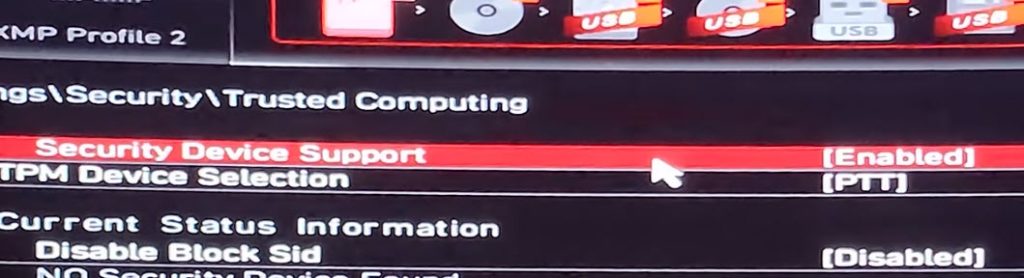
- Go to Trusted Computing
- Enable Security Device Support

Once done click on Settings again and save and exit then save the changes and reboot. When the system is restarted go to the Windows Insider Program as mentioned above where you can find it, and see it will no longer say that your hardware does not meet the minimum requirements.
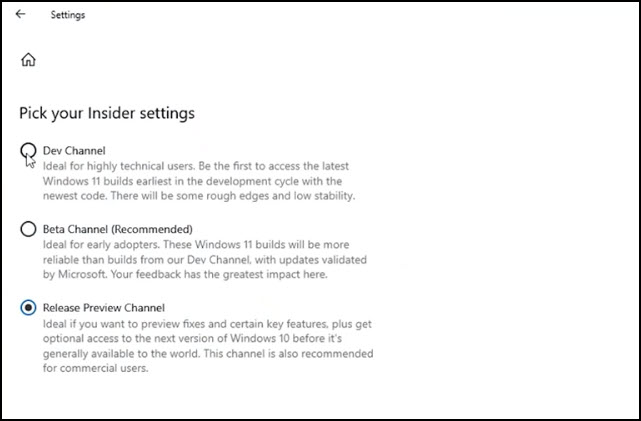
You will be on the Release Preview Channel, click on it and see what other option you have. As per the description, you will see three channels: Dev Channel, Beta Channel, and Release Preview Channel.
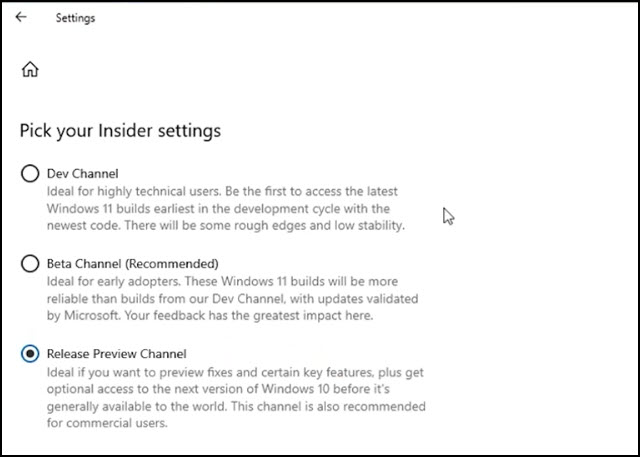
The Beta and the Dev channel will get you Windows 11. But there are fundamental differences between the two:
Beta Channel (Recommended): The Beta channel will push more stable versions but you need to wait a little bit more and till this moment the Beta channel didn’t get its first build of Windows 11 yet.
Dev Channel: If you activated the Dev channel you will get Windows 11 right now. But you need to keep in mind that as per Microsoft to change from the Dev channel to any other one you have to reinstall your Windows from scratch which is a very long process. An also the Dev channel builds are not that stable so you will be taking a very big risk.
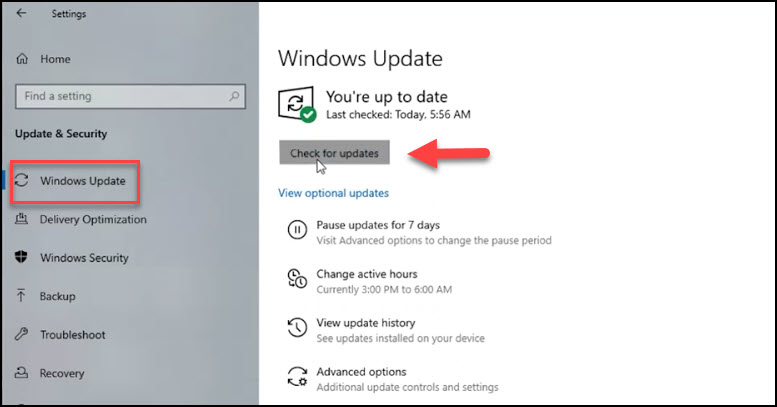
If you are okay with it go ahead and choose the Dev channel> go to Windows Updates and click Check For Updates, the first build of Windows 11 will start downloading so you can install it later from the same page after the download finishes.
Step #3: How to Prepare Before Installing Windows 11 Developer Build
The first thing we recommend you is to create a system image. A system image is an exact copy of your current system that includes your Windows, installed apps, recovery partitions, and the personal files you have on your C drive. When if you are not happy about Windows 11 or anything went wrong you can return back to the exact point where you started.
How to Create a System Image on Windows 10
To create a system image on Windows 10 follow the following steps:
- Go to the Windows Settings
- Click on Updates & Security
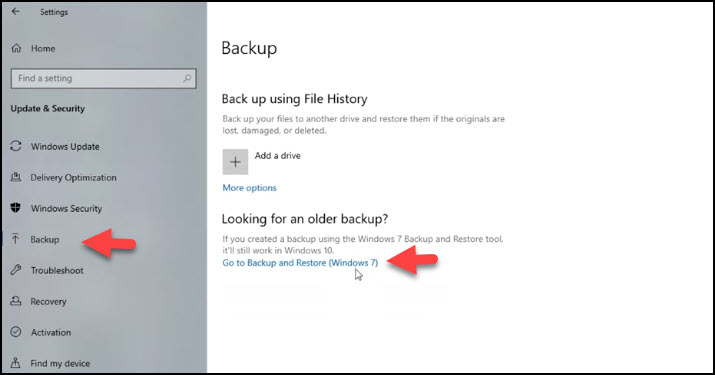
- Click on Backup
- Go to Backup and Restore click on it (It shows Windows 7 between parentheses but don’t worry it will not crate a Windwos 7 backup and this is just the name of the tool and it will still use Windows 10 as per the description)
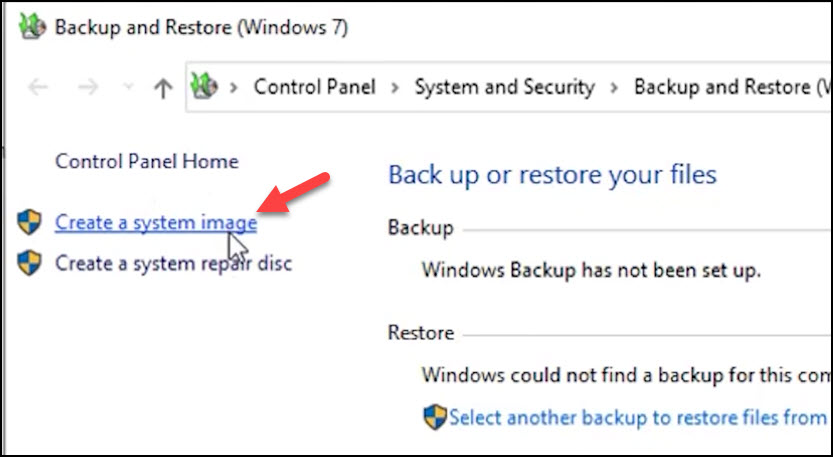
- Click on Create a System image
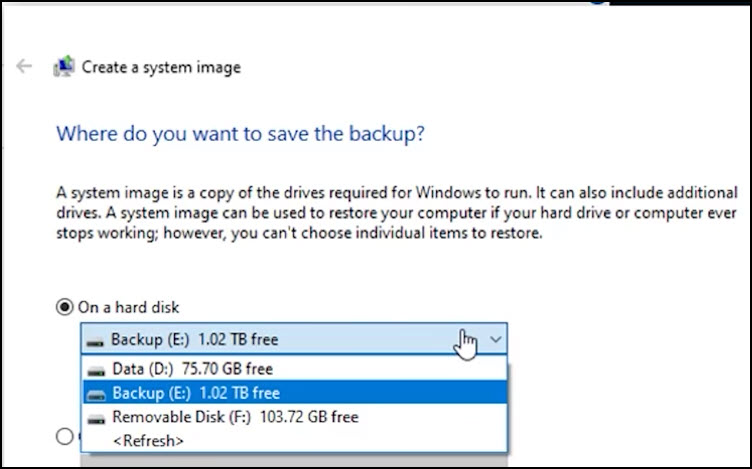
- Choose where you want to save the image. You can use external Harddrive or or if you have multiple devices installed then you can choos on those.
- Click Next and the tool will automatically take the paritition needed for the system to be restored back to the same exact state.
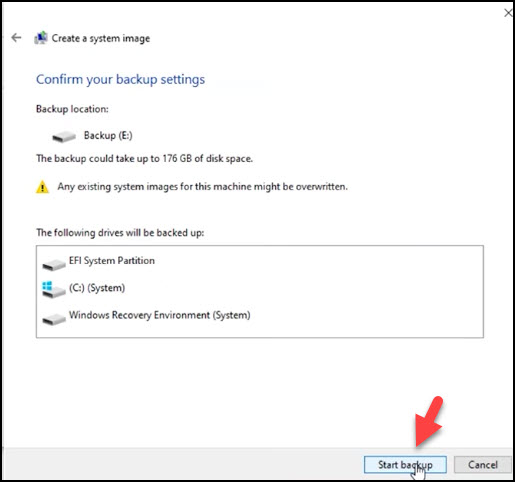
- Then click on Start Backup and wait until it finieshes.

One more thing here you need to do to be able to restore the system image later is to create a recovery drive. This will allow you to boot into system recovery tools and restore your image back if you need to.
How to Create a Recovery Drive?
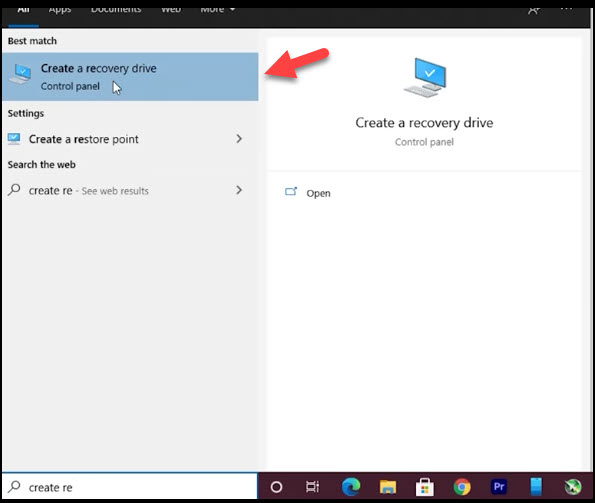
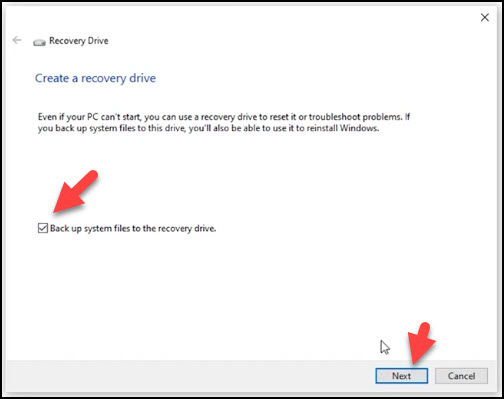
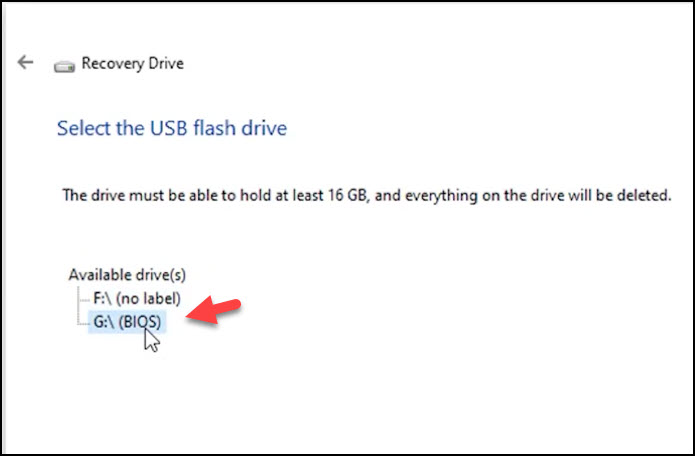
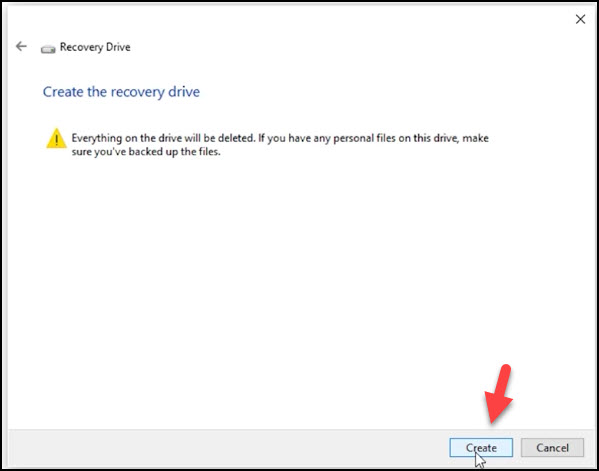
To create a recovery drive you will need a 16 GB flash memory that doesn’t include any important files. Plug it into your computer > Click Start Menu > Se arch for Create a Recovery Drive. Tick Back up system files to the recovery drive > Click Next. After it loads it will ask you which drive you to want to use as recovery, you can choose the USB flash memory you inserted > Click Next > Click Create and the system will create the recovery drive.
In this article, I won’t go through the steps on how to restore a system image but you can read it at the following given link.
Now you have everything you need to start a safe Windows 11 installation. I hope it helps and please let me know how your Window 11 installation process went through and if you have any questions, leave a comment in the comment section below.